There’s something special about those first weeks of school—sharpened pencils, brand new backpacks, and the excitement (or nerves!) of a fresh start.
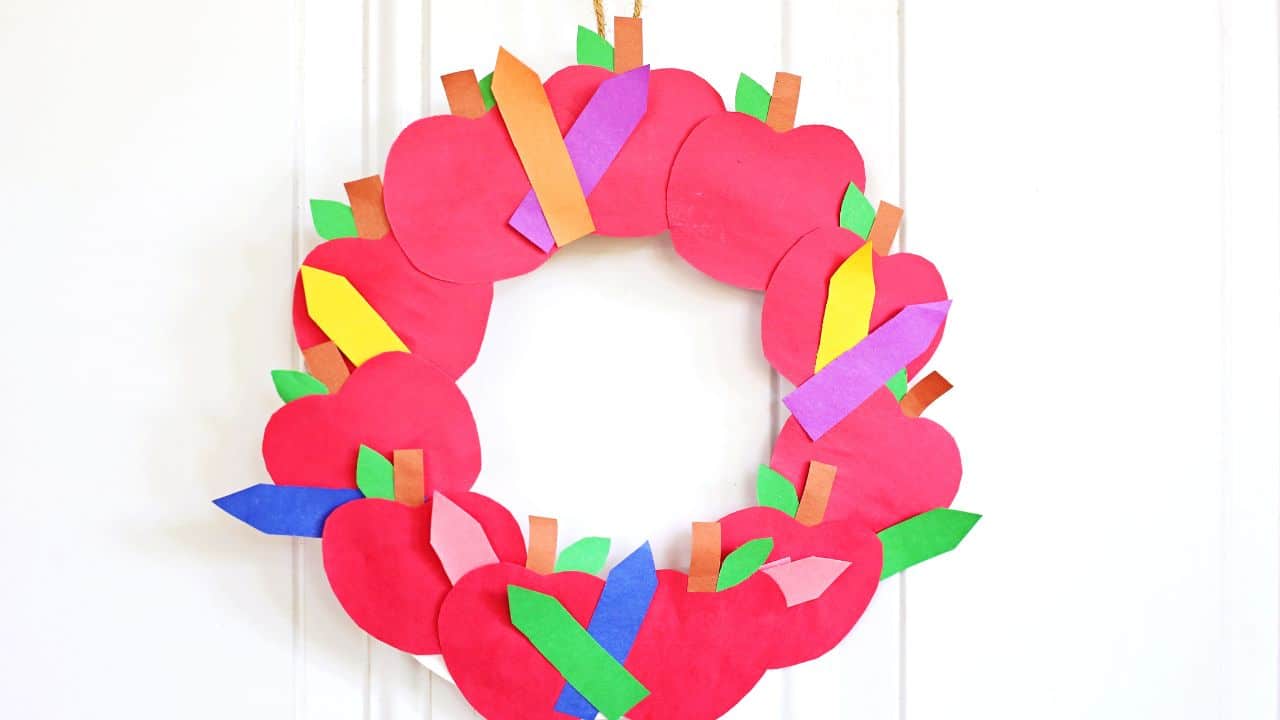
If you’re looking for a fun and simple way to channel that energy into a creative project, this Back-to-School Paper Plate Wreath is the perfect craft.
It’s colorful, easy for little hands, and makes a great classroom decoration or keepsake for your home. Plus, it’s a great way to help younger kids get into the school spirit—especially if they’re nervous or starting school for the first time.
Here’s everything you need to know to get started.
Supplies and Materials
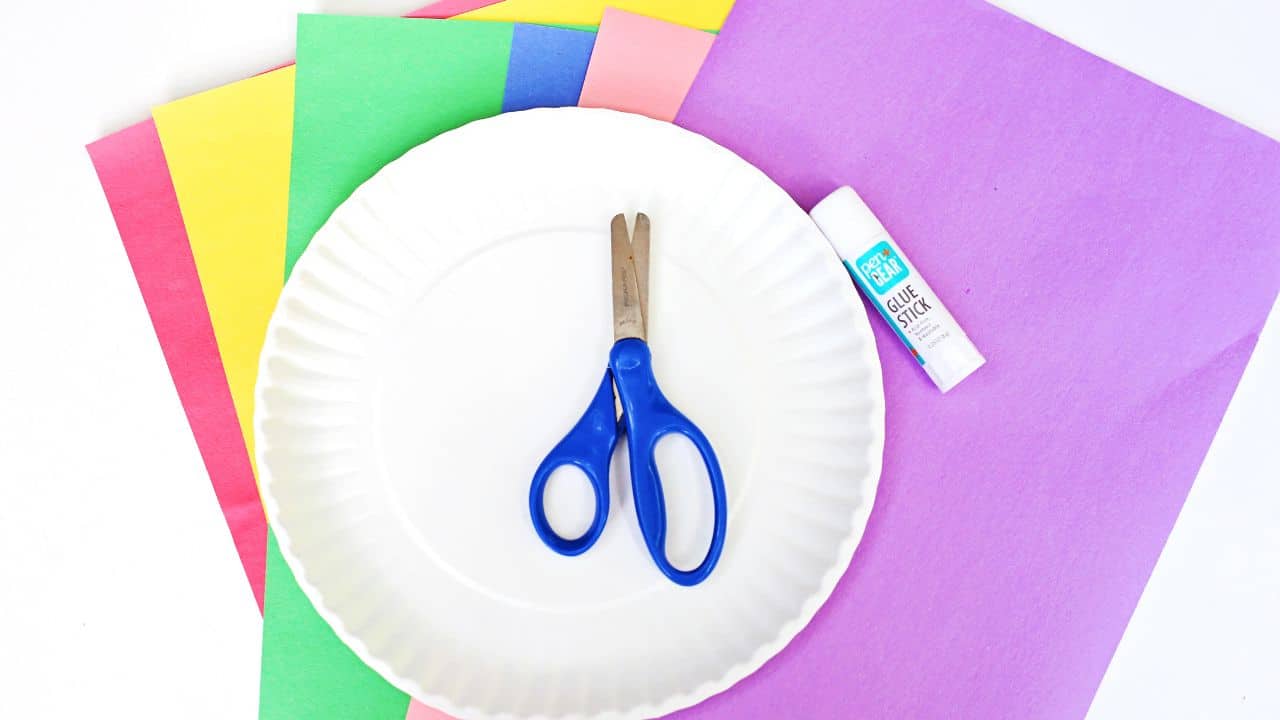
You probably already have most of these at home or in the classroom. Grab your crafting bin and gather:
- 1 paper plate (any size works, but 9” plates are great for kids)
- Red and other colorful construction paper
- Brown construction paper (or use recycled paper bags)
- Green construction paper
- Scissors (safety scissors for younger kids)
- Glue stick or liquid glue
- Pencil for tracing
Optional:
- Ribbon for hanging
- Marker or crayon to write a message in the center
Instructions
1. Prepare the Paper Plate Base
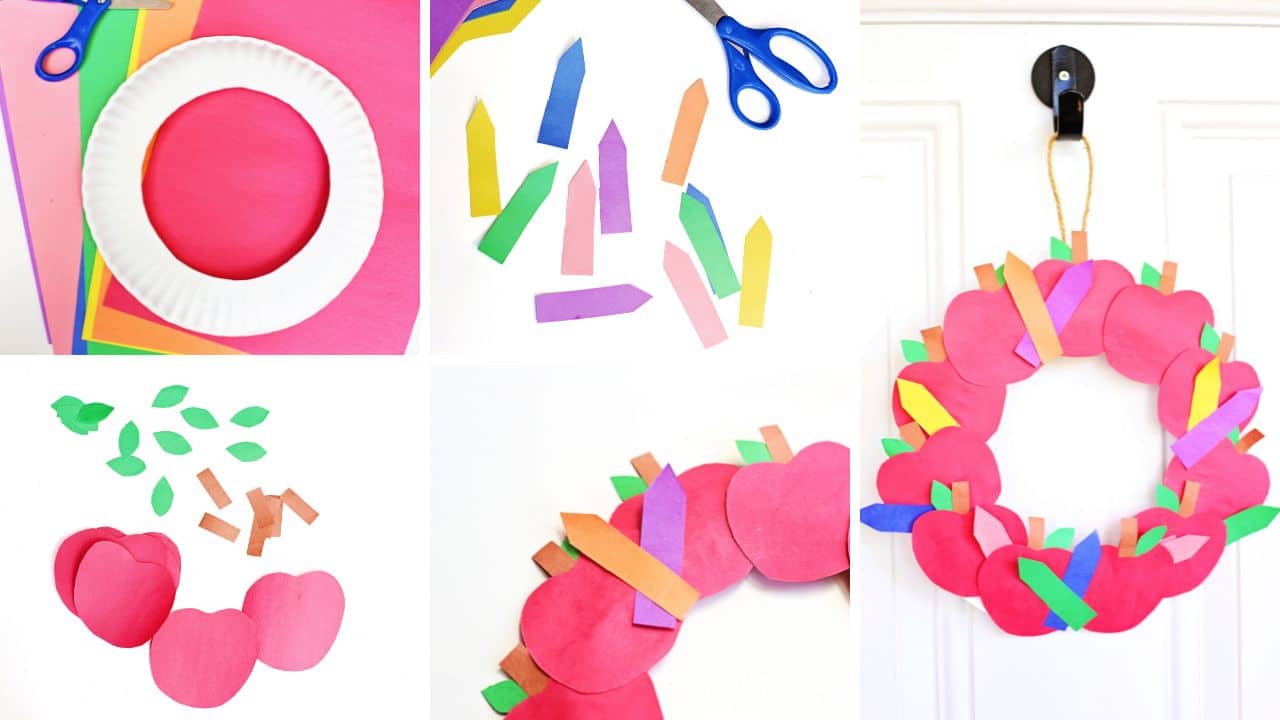
Take your paper plate and cut out the center so you’re left with a ring. This will be your wreath base. Depending on the child’s age, you might want to pre-cut this part for them.
2. Make the Apples
Cut apple shapes from red construction paper—enough to go all the way around the ring. We used 12.
Then, cut small brown rectangles for stems and green leaves.
Glue the stems and leaves to the tops of the apples to assemble them.
Pro tip: To make the apples look more realistic, have kids cut the brown stems with pointy or uneven slanted edges and give the green leaves a slight curve or jagged trim—just like real ones you’d find on a tree.
3. Cut Out Crayon Shapes
Use colorful construction paper to cut crayon shapes—yellow, blue, pink, green, orange, and any other fun colors. Think rectangles with pointy tip.
Keep them roughly the same size and shape (about 3 inches long). If kids need help, draw one crayon as a template and let them trace the rest.
4. Decorate the Wreath
Start by gluing the apples evenly around the ring.
Then, add the crayon shapes in between the apples. Don’t worry if they overlap a bit—it adds to the charm!
5. Add the Final Touches
Want to personalize it?
- Add a ribbon to the top for hanging.
- Write the child’s name or a fun phrase like Welcome Back! or Hello Kindergarten! in the center.
Why This Craft Works
This wreath isn’t just adorable—it’s also developmentally helpful. Kids will practice:
- Fine motor skills from cutting and gluing
- Shape and color recognition
- Pattern-making and sequencing as they decide where to place their apples and crayons
- Counting as they glue on apples and crayons.
- Creative expression through personalization
Plus, it’s a great craft to pair with books about starting school or to use as a first-week classroom display.
Conversation Starters While Crafting
Here are some ideas to make your craft time even more meaningful:
- What’s your favorite thing about school?
- If you could invent a new color crayon, what would it be called?
- Can you count how many apples we’re using?
- Let’s think of a word that starts with each crayon color—yellow for yawn, blue for book, etc.
- What do you want your teacher to know about you?
Crafting is a great opportunity for connection—especially during big transitions like back-to-school season.
Frequently Asked Questions
Can I use markers or paint instead of construction paper?
Absolutely! If you don’t have colored paper, have kids color the apples and crayons directly on white paper before cutting them out.
What if my child can’t cut shapes yet?
You can pre-cut the shapes and let them glue and decorate. This still gives them a chance to create independently.
Is this craft good for groups?
Yes! This makes a fun classroom activity, daycare project, or back-to-school playdate idea. Just prep the shapes in advance to keep it stress-free.
How long does this craft take?
Expect about 20–30 minutes depending on age and how detailed they want to get.
Can I use something else for the base besides a paper plate?
Sure! Cardboard circles or even cereal box cutouts work great. Just trace a bowl for the outer edge and a smaller bowl or cup for the inner circle.
Wrap-Up

This Back-to-School Paper Plate Wreath is more than just a cute decoration. It’s a hands-on way to welcome the school year with creativity, conversation, and a little bit of glue stick magic.
So grab those scissors and construction paper, and make something worth hanging up on the wall and in your memory.